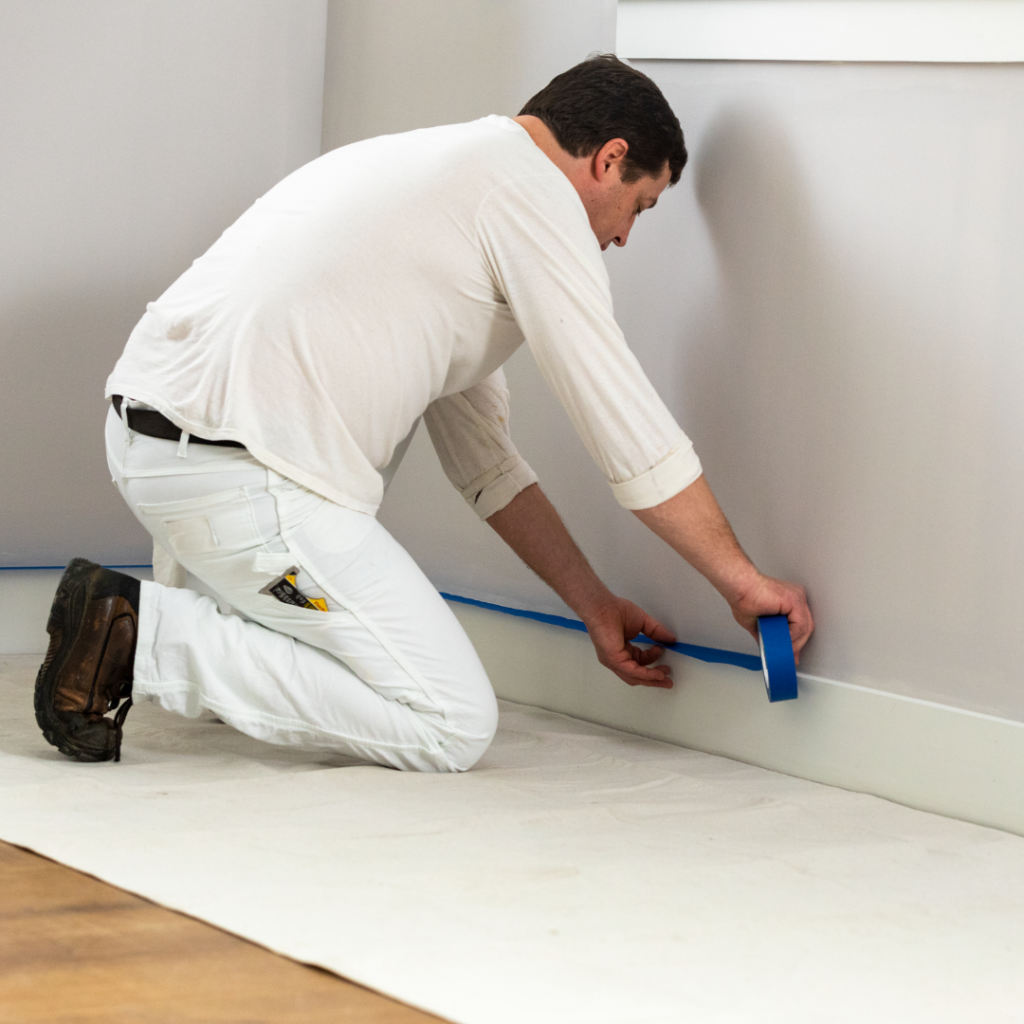
To tape or not to tape is an age-old debate. Some experienced painters swear by the freehand method for clean lines, but that choice is often based on experiences with inferior tapes or tapes that were used incorrectly, resulting in wasted time or disappointing results.
Today, a new generation of professional-grade painter’s tapes has raised the bar on taping results with an ability to consistently deliver crisp lines and eliminate the need for time-consuming touch-ups after the fact. Painter’s tapes engineered with new adhesive and sealant technologies are becoming indispensable tools for achieving quality and efficiency, especially for detailed work like kitchen or bathroom cabinetry.
These tapes are also helping contractors make better use of inexperienced apprentices by equipping them with tools that can help them produce more professional-looking results right from the start.
In my experience at Shurtape, professional painters rely on painter’s tapes for several reasons:
- Creating clean, precise lines: This is the primary purpose of any high-quality, edge-treated tape. Many painters use tape as an insurance policy against inconsistent freehand lines.
- Preventing overlap: Taping keeps paint colors and textures from being altered by the overlapping of paints, which can easily happen with freehand paint application.
- Avoid mistakes: Many painters think they have steady hands, but there’s really only one way to ensure a straight, clean line, and that’s by taping. Yes, it takes some time to tape, but lots of painters have learned the hard way that it takes even more time to return to a job to do touch-ups.
- Protect your stuff: A client’s surfaces and belongings aren’t the only things that need protection. Contractors cover their own tools and equipment with painter’s tape and sheeting to keep the worksite clean and ready for the next task.
Prep for success
If you want to get the most out of your tape, you need to properly prep your surface. Proper surface preparation is like priming your canvas—it ensures the tape sticks properly and does its job correctly.
Here’s what to do before you even start with the tape:
- Clean the surface: Taking the time to clean your surface is one of the most underrated steps for maximizing the benefits of painter’s tape. Grab a damp sponge and wipe away any dust, dirt, or debris, as these can significantly interfere with the tape’s adhesive properties.
- Use a microfiber cloth: After the initial wipe down, use a microfiber cloth to get rid of any remaining dirt. These cloths are great because they don’t leave any lint behind.
Selecting a width
It’s time to choose the right width of tape for your project. The width of your tape can simplify the painting process and make a big difference in your results. But how do you pick the correct size?
Here are the two rules to follow:
- One-inch tape for details: For those intricate details and fine lines, a narrower tape (about 1 in.) is your best bet. It’s easier to maneuver and ideal for detailed work.
- Wider tape for larger areas: If you’re tackling a bigger surface or need to secure drop cloths, go for a wider tape. It covers more area and gives you more room to work, especially if you use paint rollers.
Tips for crisp lines
To achieve those coveted sharp lines, here are some insider tips that can make all the difference. These tricks for taping before painting will help you make the most of your painter’s tape and avoid common pitfalls:
- Use Namebrand Painter’s Tapes: There is a real difference in the quality of painter’s tapes. Namebrands are namebrands for a reason: consistent quality.
- Burnish for Better Adhesion: When you’re taping off for painting, you need to make sure your tape is firmly stuck to the surface by burnishing it. You can use something as simple as a credit card to press the tape down securely.
- Pre-Moisten the Tape: Dampen a towel or sponge and run it along the edge of the tape. FrogTape, in particular, uses PaintBlock Technology that is activated by the moisture.
- Avoid Overloading: When you start painting, be mindful not to soak the tape with paint. Apply it evenly and avoid too much paint near the tape edge to prevent seepage.
Preventing tape lifting or curling
Nothing’s more frustrating than your tape lifting or curling while you’re painting. To keep your tape in place, follow these three guidelines:
- Mind the temperature: Extreme temperatures or high humidity can affect the tape’s adhesion. Try to paint in moderate conditions for the best results. While you don’t always have a choice in a professional setting, you can use fans or a dehumidifier to help the paint dry quickly and correctly.
- Don’t stretch it: Stretching the tape as you apply it can cause it to lift. Keep it relaxed for a better stick.
- Proper surface prep (again): Always double-check that your surface is clean and dry before taping. Any moisture or dirt on the surface can compromise the adhesive.
How to remove painter’s tape
Once your paint job is done, it’s time to reveal those perfect lines. The removal process is just as crucial as the application—and doing it right can prevent a lot of frustration.
Remove the tape by pulling it at a 45-degree angle slowly and steadily. If needed, use a razor blade to score any paint bridges.
When you remove the tape can be just as important as how you remove it. Timing it right ensures you get the best possible results.
The best time to remove painter’s tape is when the paint is still slightly tacky. This helps prevent the tape from pulling off the dried paint.
That’s it! Another job well done.
Patti LaPorte is the Director of Product Marketing for the Masking and Paper Tapes division at Shurtape Technologies. Brands she represents include FrogTape, Duck Brand, Painter’s Mate Green, and Shurtape

